The Beginners Guide to Github
If you are new to GitHub, this “how-to” guide will provide an introduction to the platform and its key features. We will cover how to create an account, how to create and manage repositories, and how to use some of GitHub’s tools for collaboration and code management.
By the end of this guide, you should have a better understanding of how to use GitHub and its extensive feature set to manage your projects and collaborate with others.
What is GitHub?
GitHub is a website and cloud-based service that allows developers to host and review code, manage projects and build reliable software. It is a popular platform developers use to collaborate on projects with others and most importantly, store code in a version control system.
A version control system (VCS) is a system that stores and tracks the history of software. For example, when you make an edit to your code you can commit that change, which saves a record of the change. This allows you to easily go back to previous versions of your code if you need to.
Let’s get started.
To get started with GitHub, you first need to create an account. You can do this by visiting the GitHub website and clicking on the “Sign Up” button in the top right corner in the navbar.

GitHub Repositories
Once you have created your account, you can create a new repository. This is a place to store your code and collaborate with others and will be handled under a version control system (VCS).
Creating a new repository
To create a new repository, click on the “+” icon in the top right corner of the page and select “New repository.” You will then be asked to enter a name for your repository and a brief description. You can also choose whether to make your repository public or private. Public repositories are visible to anyone and can be contributed to by anyone, while private repositories are only visible to you and the people you invite to collaborate.

Adding files to the repository
Once you have created your repository, you can start adding files to it. To do this, click on the “Create new file” button in the repository’s main page. You can then enter the name of your file and the code you want to include in it. You can also use the “Upload files” button to add existing files from your computer to your repository.

Branches
A branch is a separate version of a repository’s code. A branch allows you to work on a different version of the code without affecting the main code. This can be useful if you want to experiment with new features or make major changes to the code without affecting the main version of the code. Branches are an important feature of GitHub, as they allow you to collaborate more effectively with others on your project, and also allows you to experiment with new ideas without affecting the main code.
Creating a branch
To create a branch in GitHub, go to the main page of your repository and click on the “Branch” button. Type in the name of your new branch, and click “Create branch”. This will create a new branch with the same files as the main branch, but any changes you make to the code on this branch will not affect the main branch.
Switching branches and integrating changes
You can switch between branches in your repository by going to the “Branches” tab and selecting the branch you want to work on. You can also merge branches, which will incorporate the changes from one branch into another branch. This allows you to easily incorporate your changes into the main branch of the code. You can also open a “pull request” to merge.

Pull Requests
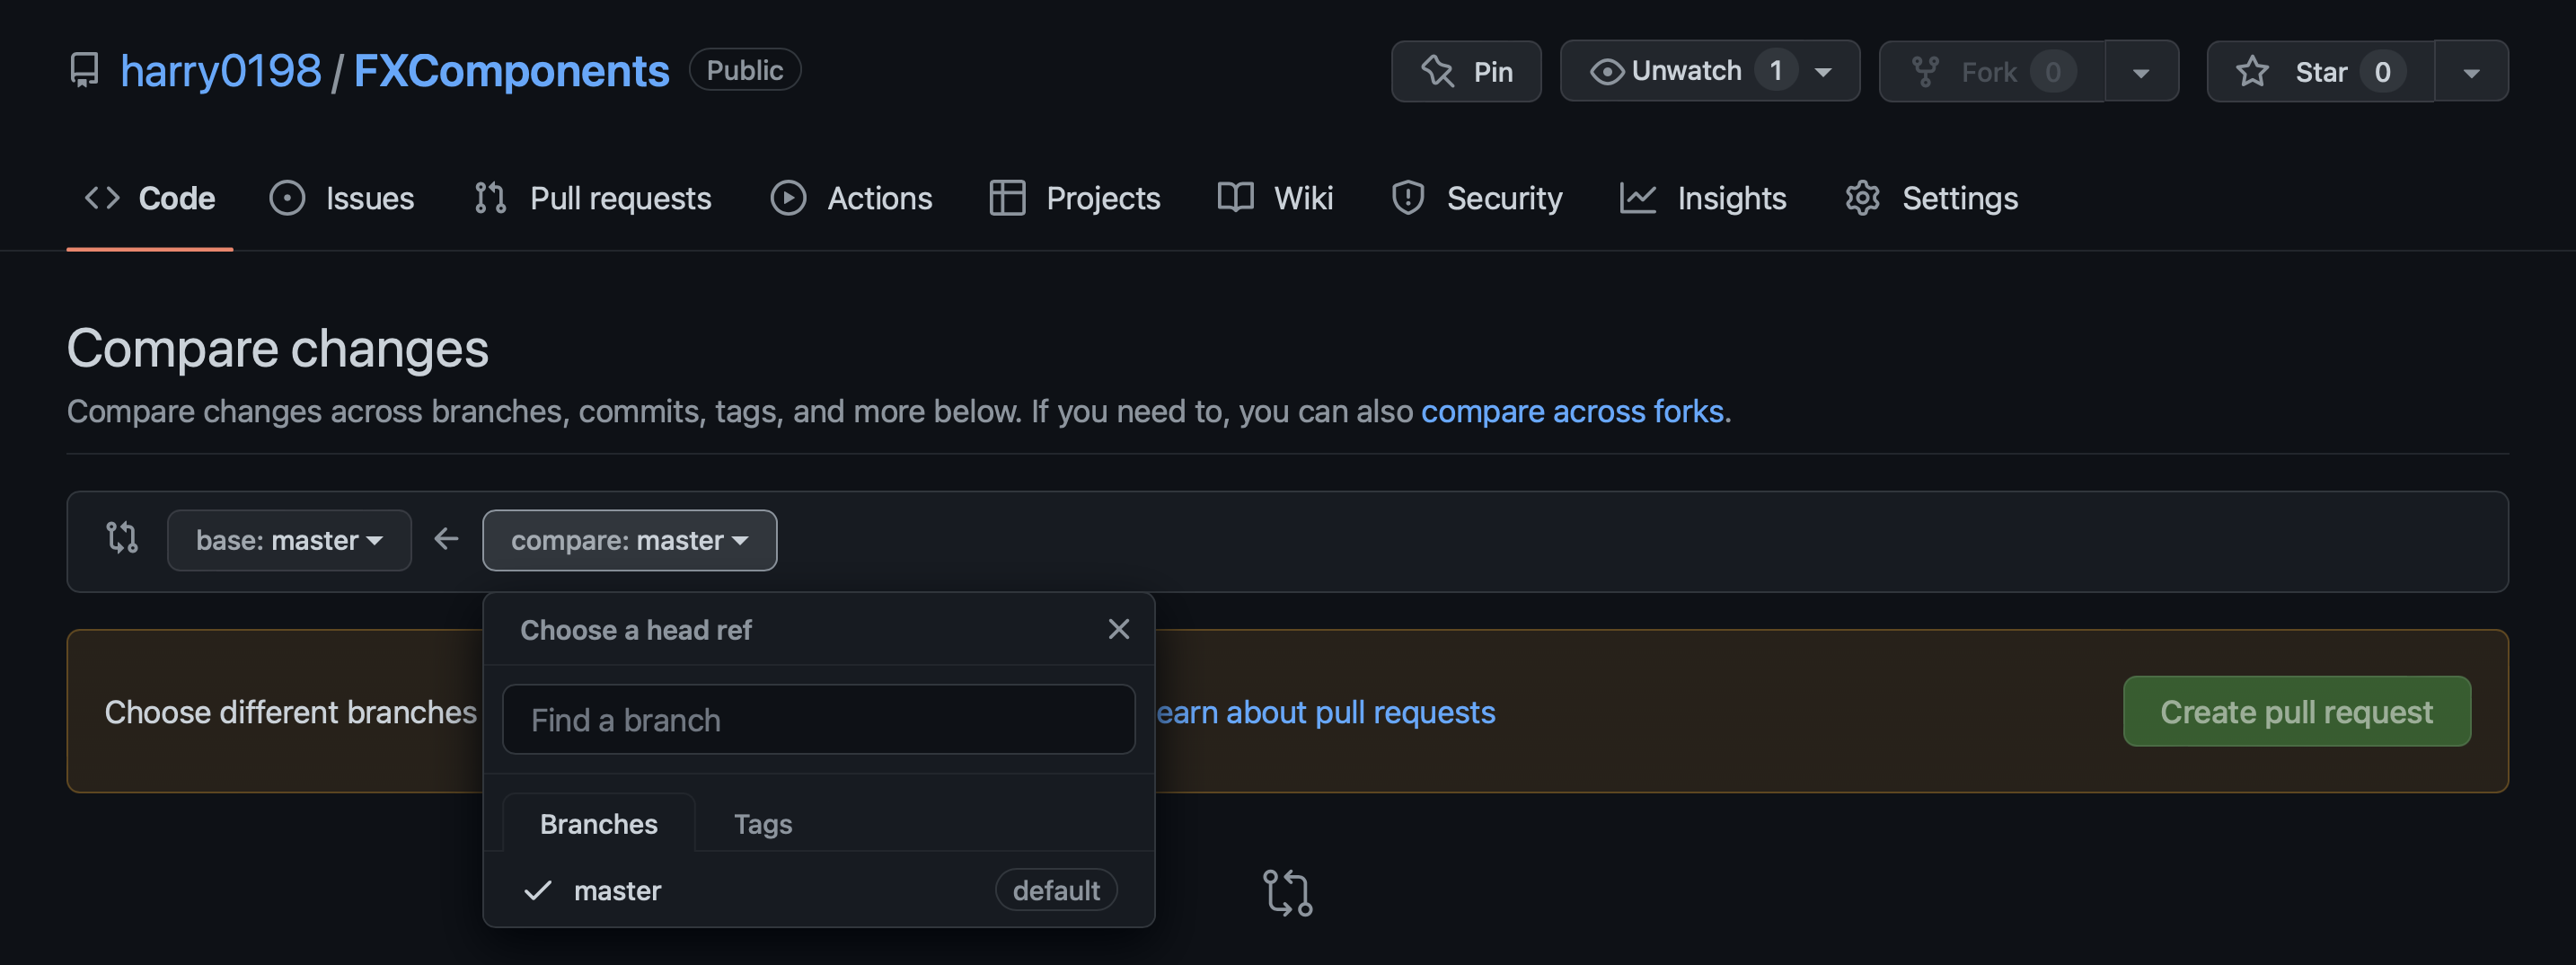
A pull request is a way for a developer to submit changes they have made to a project on GitHub. When a developer creates a pull request, they are requesting that the project maintainer review their changes and potentially merge them into the main branch of the project’s code.
Creating a pull request
When creating a pull request you must have edited a new branch and committed your changes. To create a pull request, go to the “Pull requests” tab in your repository and click on the “New pull request” button. Select the branch you want to submit for review, and click “Create pull request”.
Learn more on pull requests on the official GitHub documentation

Issue Tracking
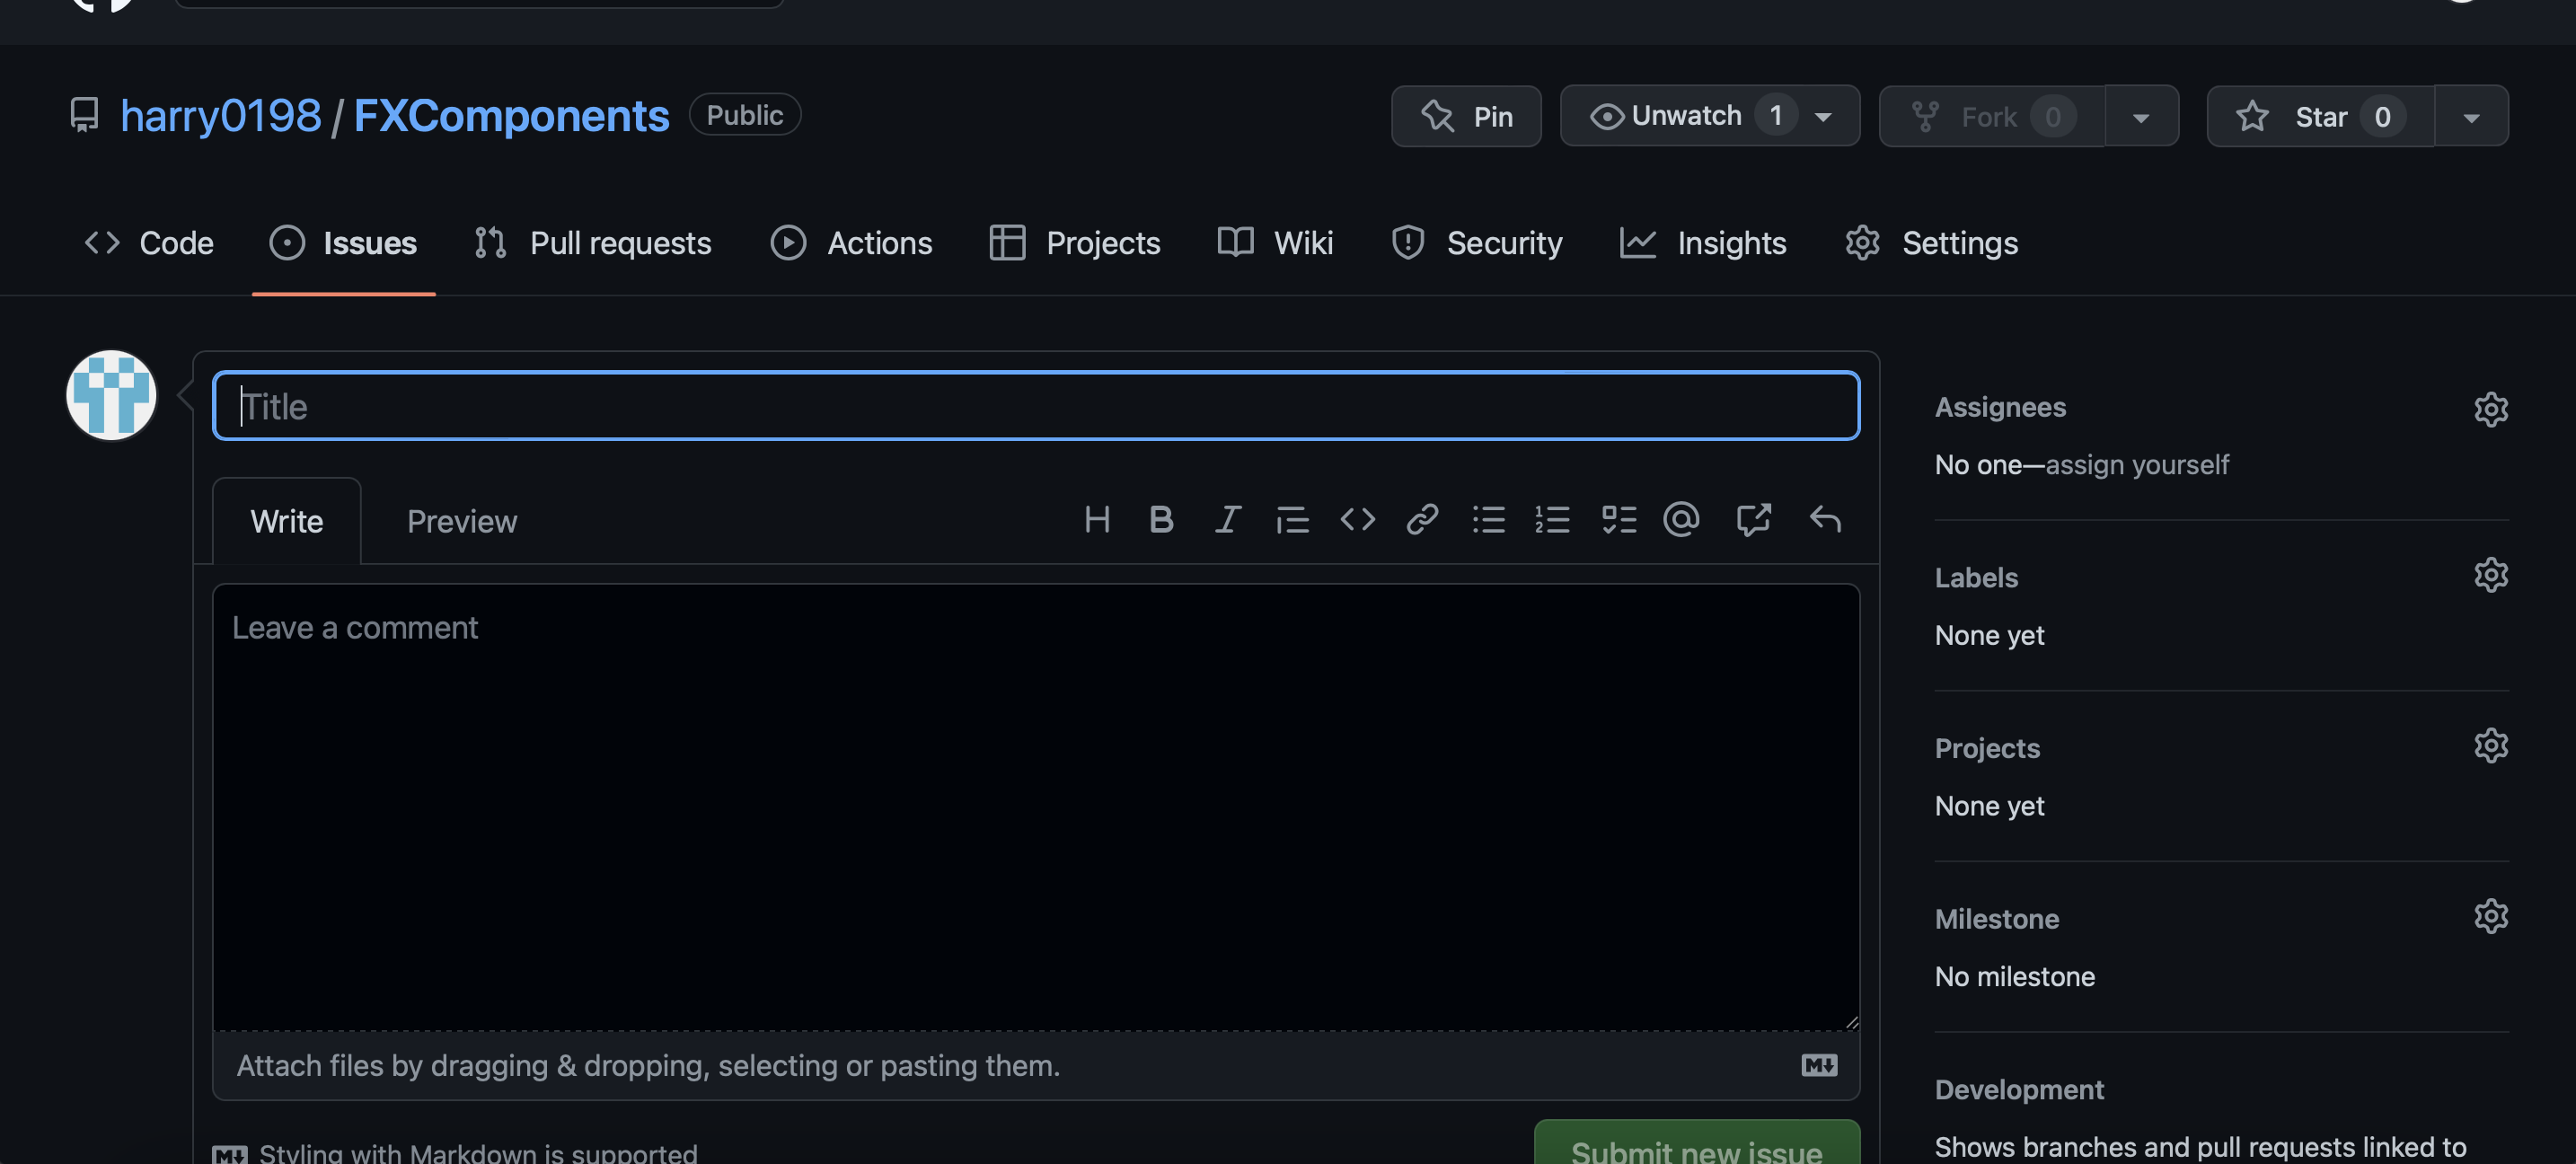
GitHub issues are a way to track tasks, enhancements, and bugs for a project. Each issue is tracked individually, and can be assigned to one or more collaborators who are responsible for addressing the issue. GitHub provides tools for managing issues, such as the ability to assign labels and milestones, and to add comments and updates. This allows for easy organisation and collaboration on resolving issues in a project.
Creating an issue
To create a GitHub issue, go to the “Issues” tab in your repository and click on the “New issue” button. Enter a short, descriptive title for the issue and provide a detailed description of the issue for good practice. Use the “Labels”, “Assignees”, and “Milestone” fields to organize and track the issue. Click on the “Submit new issue” button to create the issue. This allows you to track and manage tasks and problems in your project.

Learn more
To learn more about GitHub and its features, you can explore the following resources:
- The GitHub Help documentation: This comprehensive documentation provides detailed information on all aspects of GitHub, including how to use its features and tools.
- The GitHub community forums: These forums provide a place for users to ask questions and share tips and advice with each other. You can post your own questions or search for answers to common questions.
- The GitHub blog: The GitHub blog features articles on a range of topics, including new features, best practices, and case studies. Reading these articles can provide valuable insights into how other developers are using GitHub.
- YouTube tutorials: There are many YouTube tutorials that provide step-by-step guides on how to use GitHub and its features. Search for “GitHub tutorial” on YouTube to find a wide range of videos that can help you learn more.
Thanks for reading and happy coding!

 @Charliebricks
 @Starry
 @todd
@todd @dert
@dert @hq
@hq @themolitor