Menu
Articles /Pin to ProfileBookmark
Extending Framer’s Capabilities with Standard React and TypeScript for Developers
Framer is a popular site-building web app designed for users without any coding knowledge. Its intuitive interface and powerful tools make it an excellent choice for creating stunning websites with ease. However, Framer also offers a fantastic opportunity for developers to extend its capabilities using standard React and TypeScript. In this article, we’ll walk you through the process of creating a custom Framer component using React and TypeScript.
Creating a Custom Framer Component
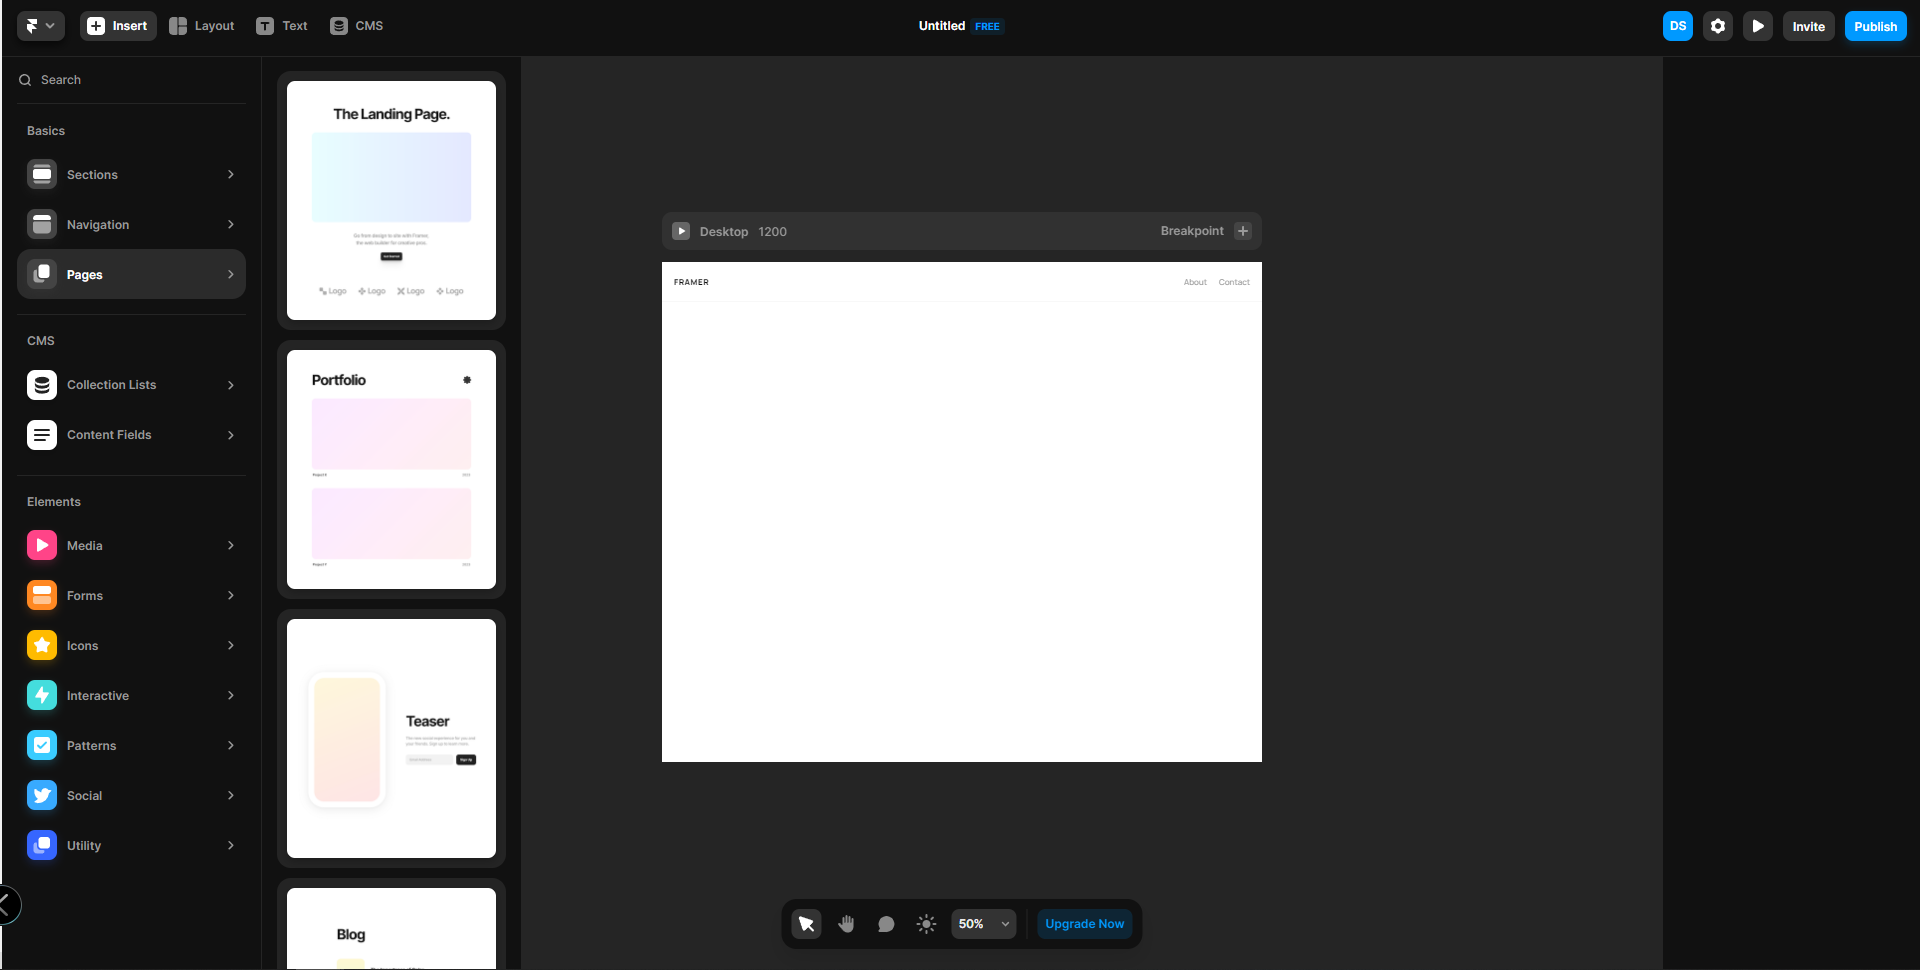
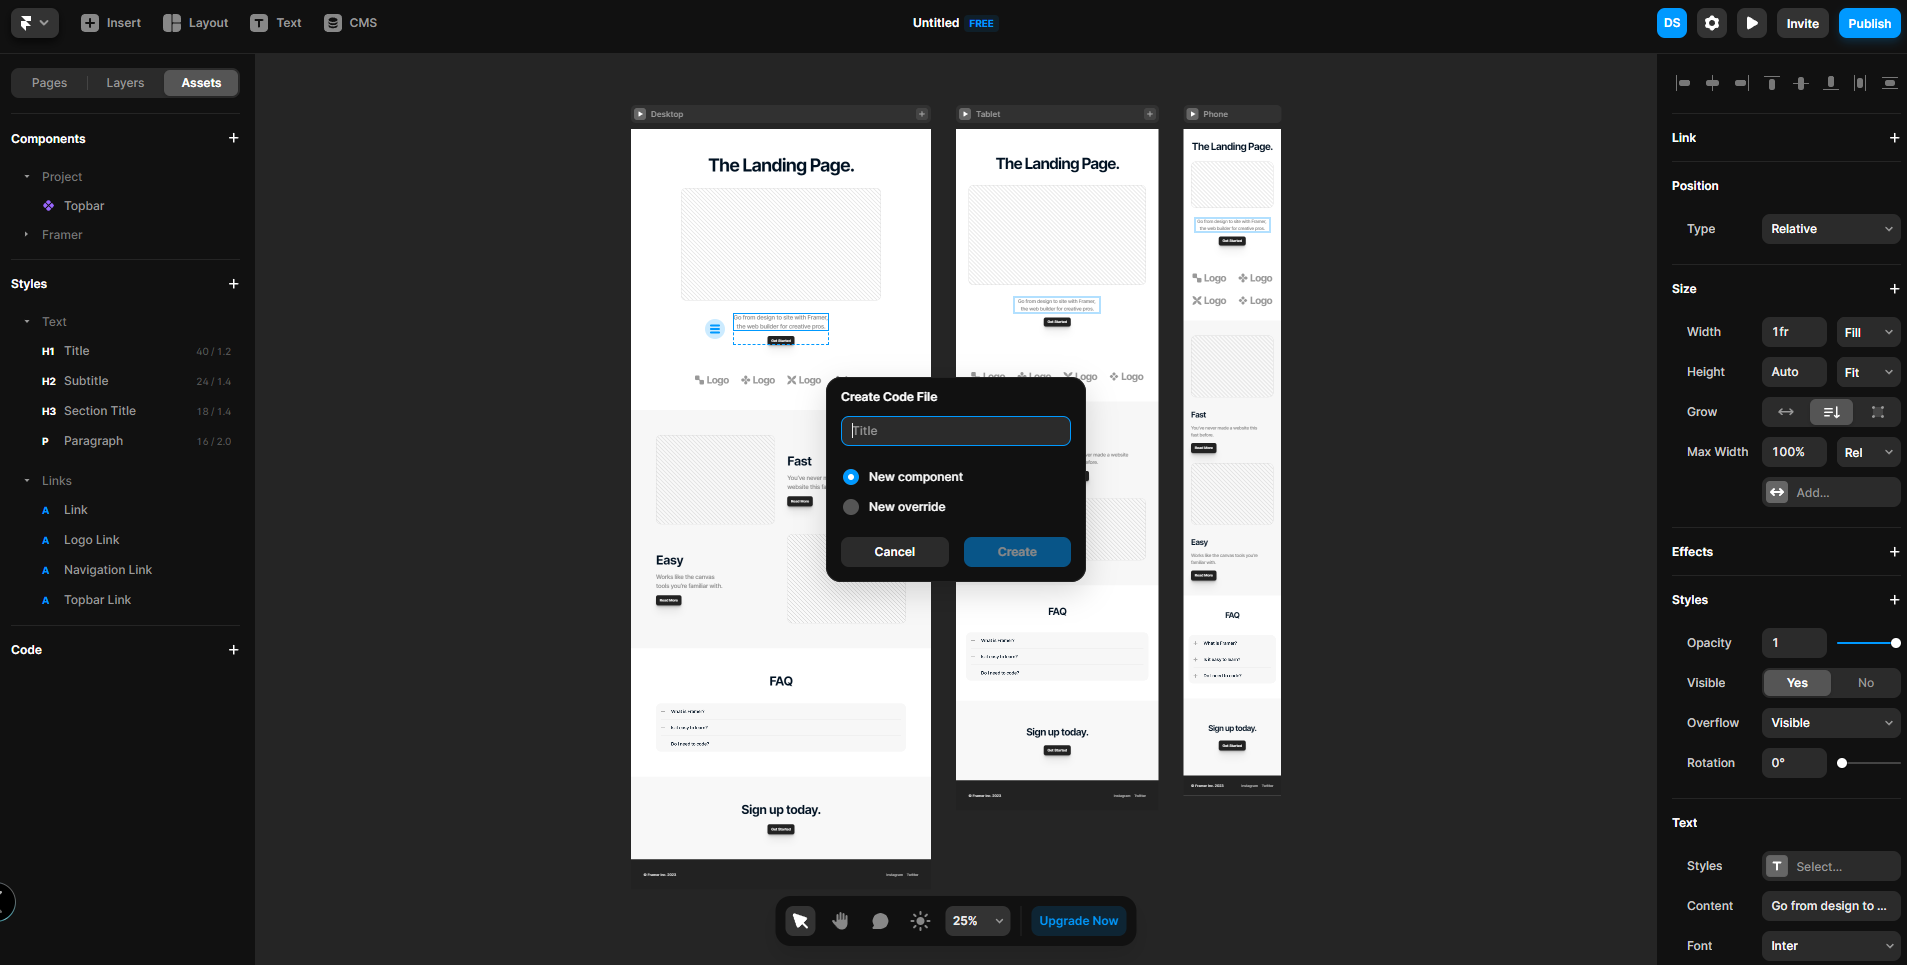
To begin, let’s create a new Framer project and explore the developer tools available within the platform. Framer provides a built-in code editor, which allows you to write React and TypeScript code directly within the app. You need to click on a component and find the code section in the “Assets” Tab.
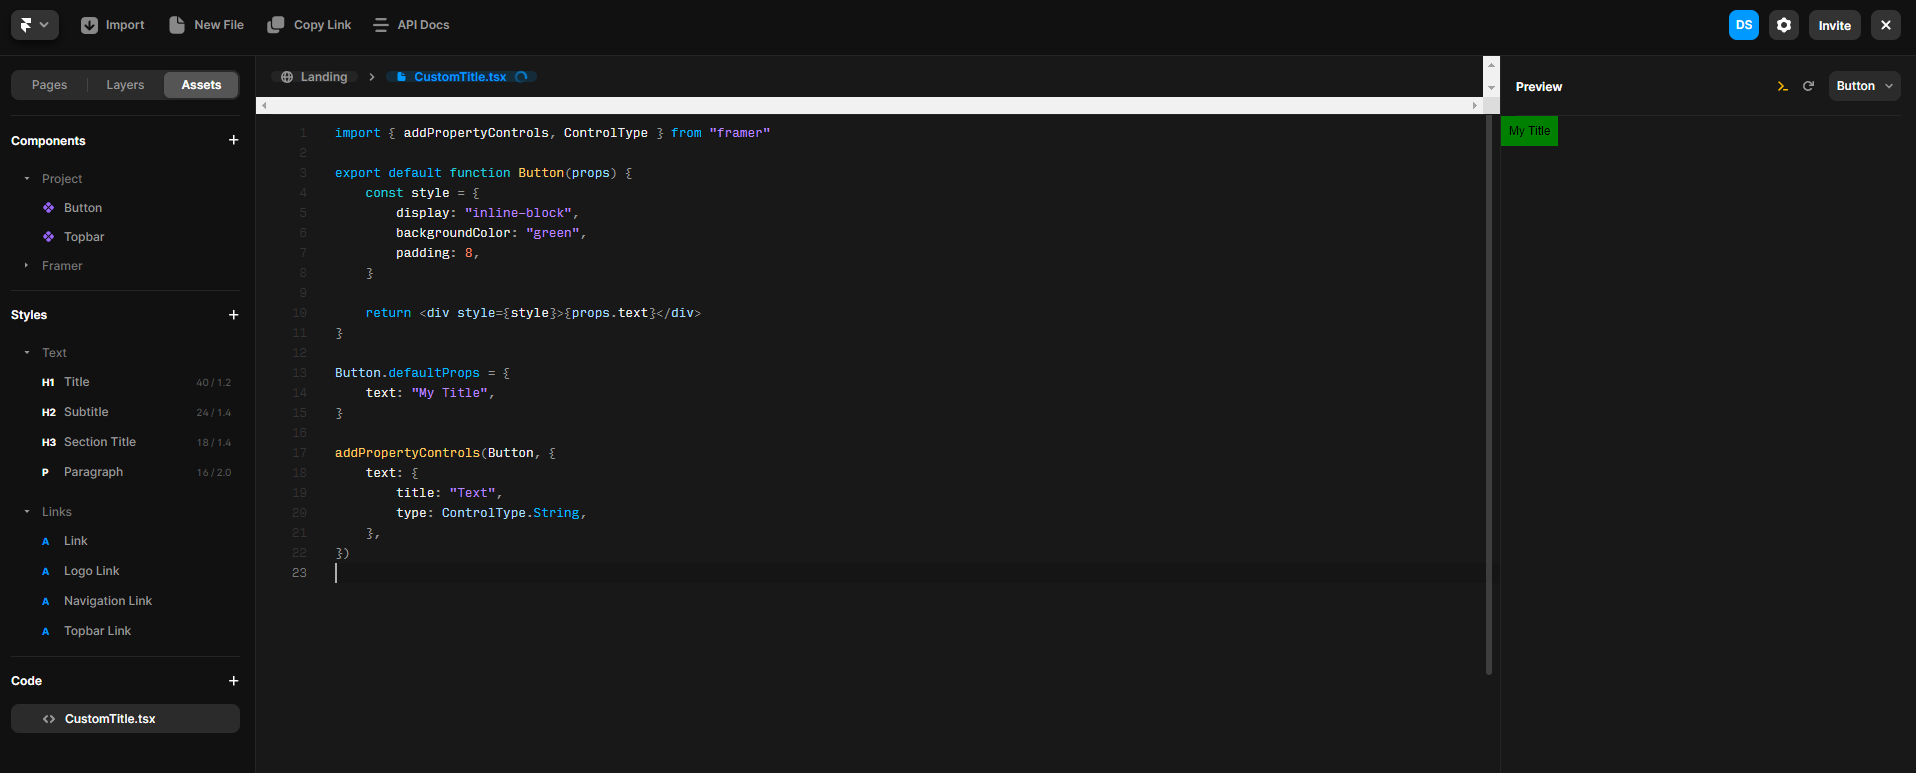
Next, let’s create a simple React component that we’ll use as our custom Framer component. For this example, we’ll create a title component.
- Create a new file in the Framer code editor and name it “CustomTitle.tsx”.
- In this file, write the following code:
import { addPropertyControls, ControlType } from "framer"

export default function Button(props) {
 const style = {
 display: "inline-block",
 backgroundColor: "green",
 padding: 8,
 }

 return <div style={style}>{props.text}</div>
}

Button.defaultProps = {
 text: "My Title",
}

addPropertyControls(Button, {
 text: {
 title: "Text",
 type: ControlType.String,
 },
})
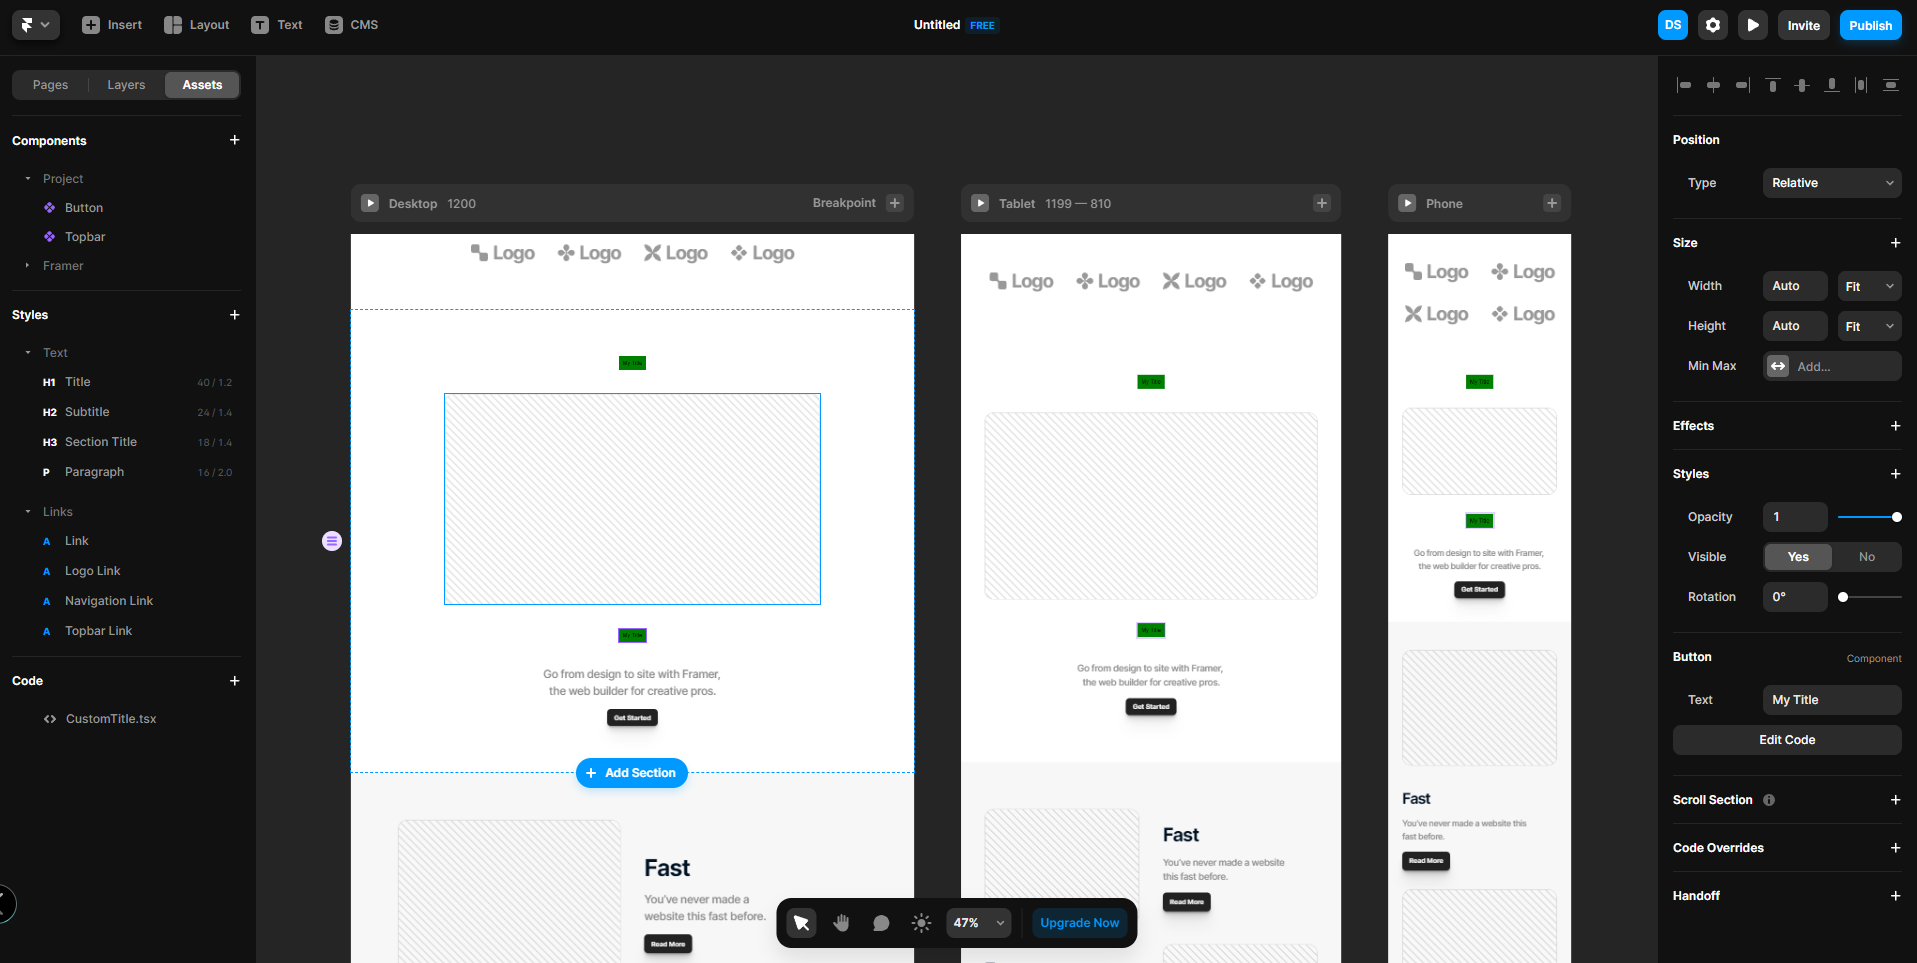
Now you can Drag & Drop your component directly in your page.
Conclusion
As we’ve demonstrated, developers can harness the power of TypeScript and React to extend Framer’s capabilities, creating custom components that enhance the platform’s functionality. By combining Framer’s intuitive interface with the flexibility of TypeScript and React, developers can create rich, interactive web experiences that cater to a wide range of users. You find detailed information in the docs. You can add more custom code to your website but this “Custom Code” feature isn’t available in the free plan.
I hope this gets you started and happy coding.
About @steime

steime steime
Blockchain
CSS
Debugging
Docker
Engineer
Front-end
Full-stack Developer
Go
HTML
JavaScript
Next.js
Node.js
Python
Web 3
Sat Stacker, Web Developer and Bounty Hunter